Happy Sunday! Sorry I'm a little late. I hope y'all had a great weekend!
Ours was filled with trim, trim and more trim!
The built-in bookcases in the family room are coming along very well. The crazy ideas running around in my noggin' are coming to fruition and it's so exciting to watch. I've enjoyed showing y'all each step as we finish it and I hope you're enjoying watching the progress.
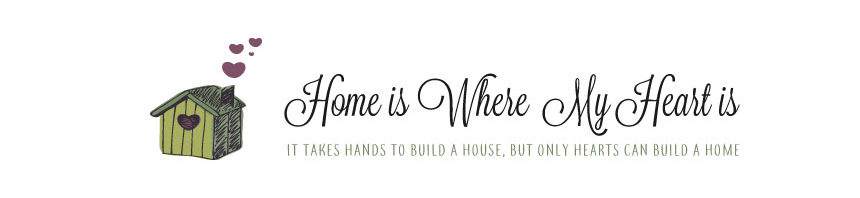
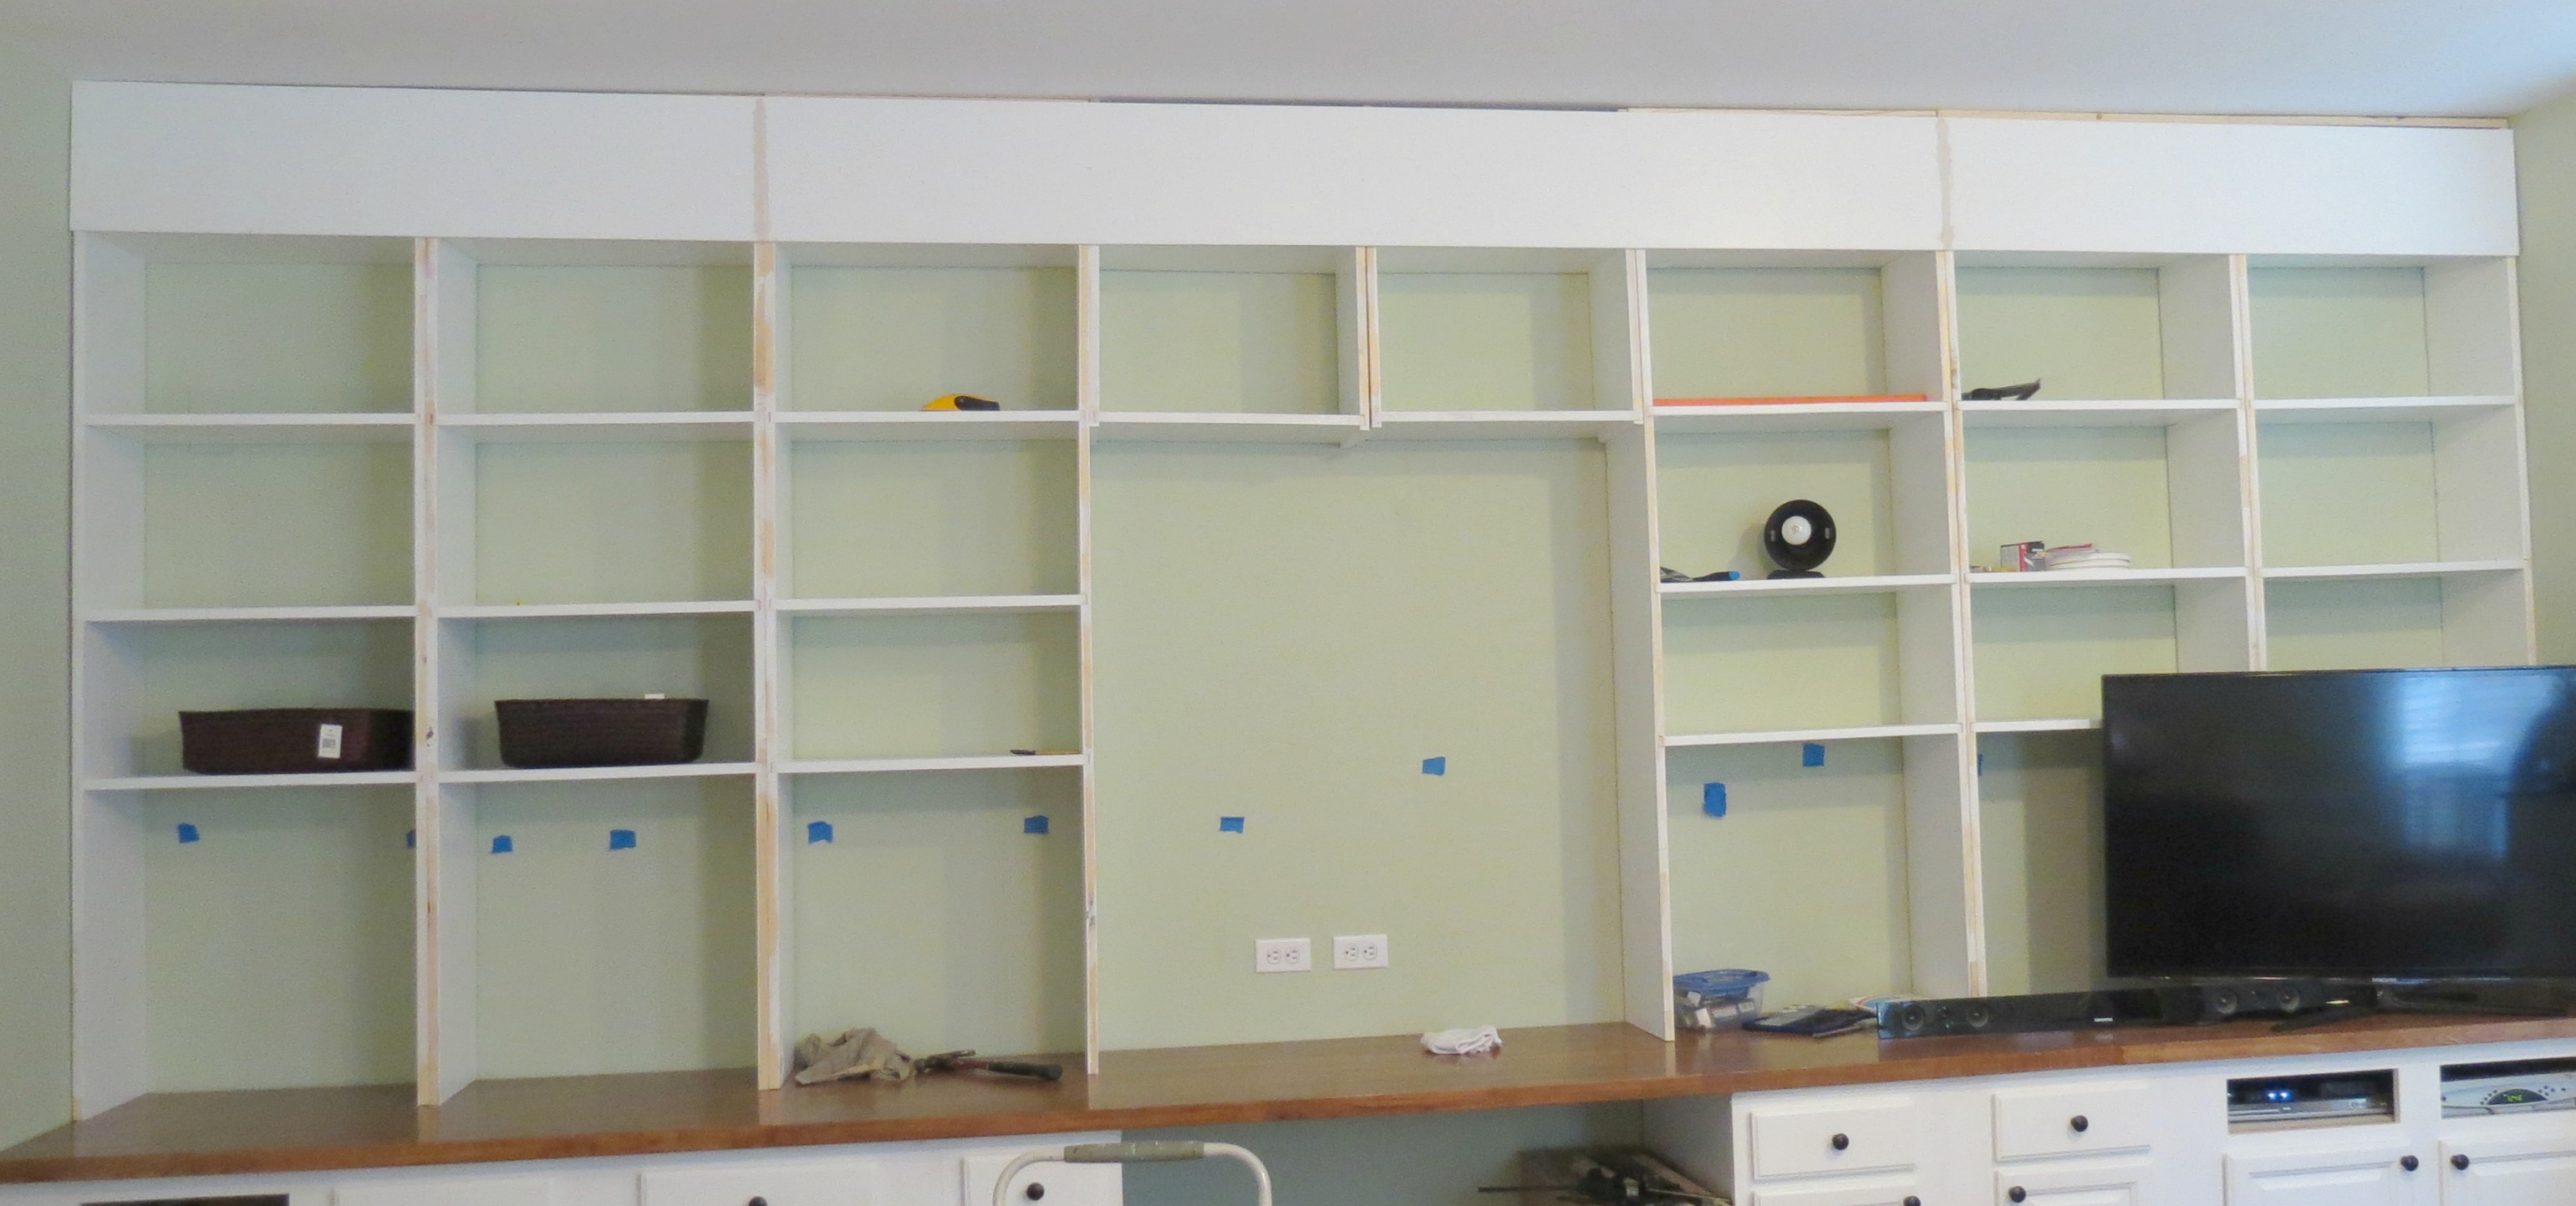
So…….here is where we were before the weekend began.
Our bookcases have the base cabinets, the butcherblock counters, the shelves, and the bridge.
Now, onto the lights and using our power drill and oscillating tool.
The lights are going….
Awhile back, we had our friendly neighborhood electrician Charlie come for a very expensive visit. You can read all about it here.
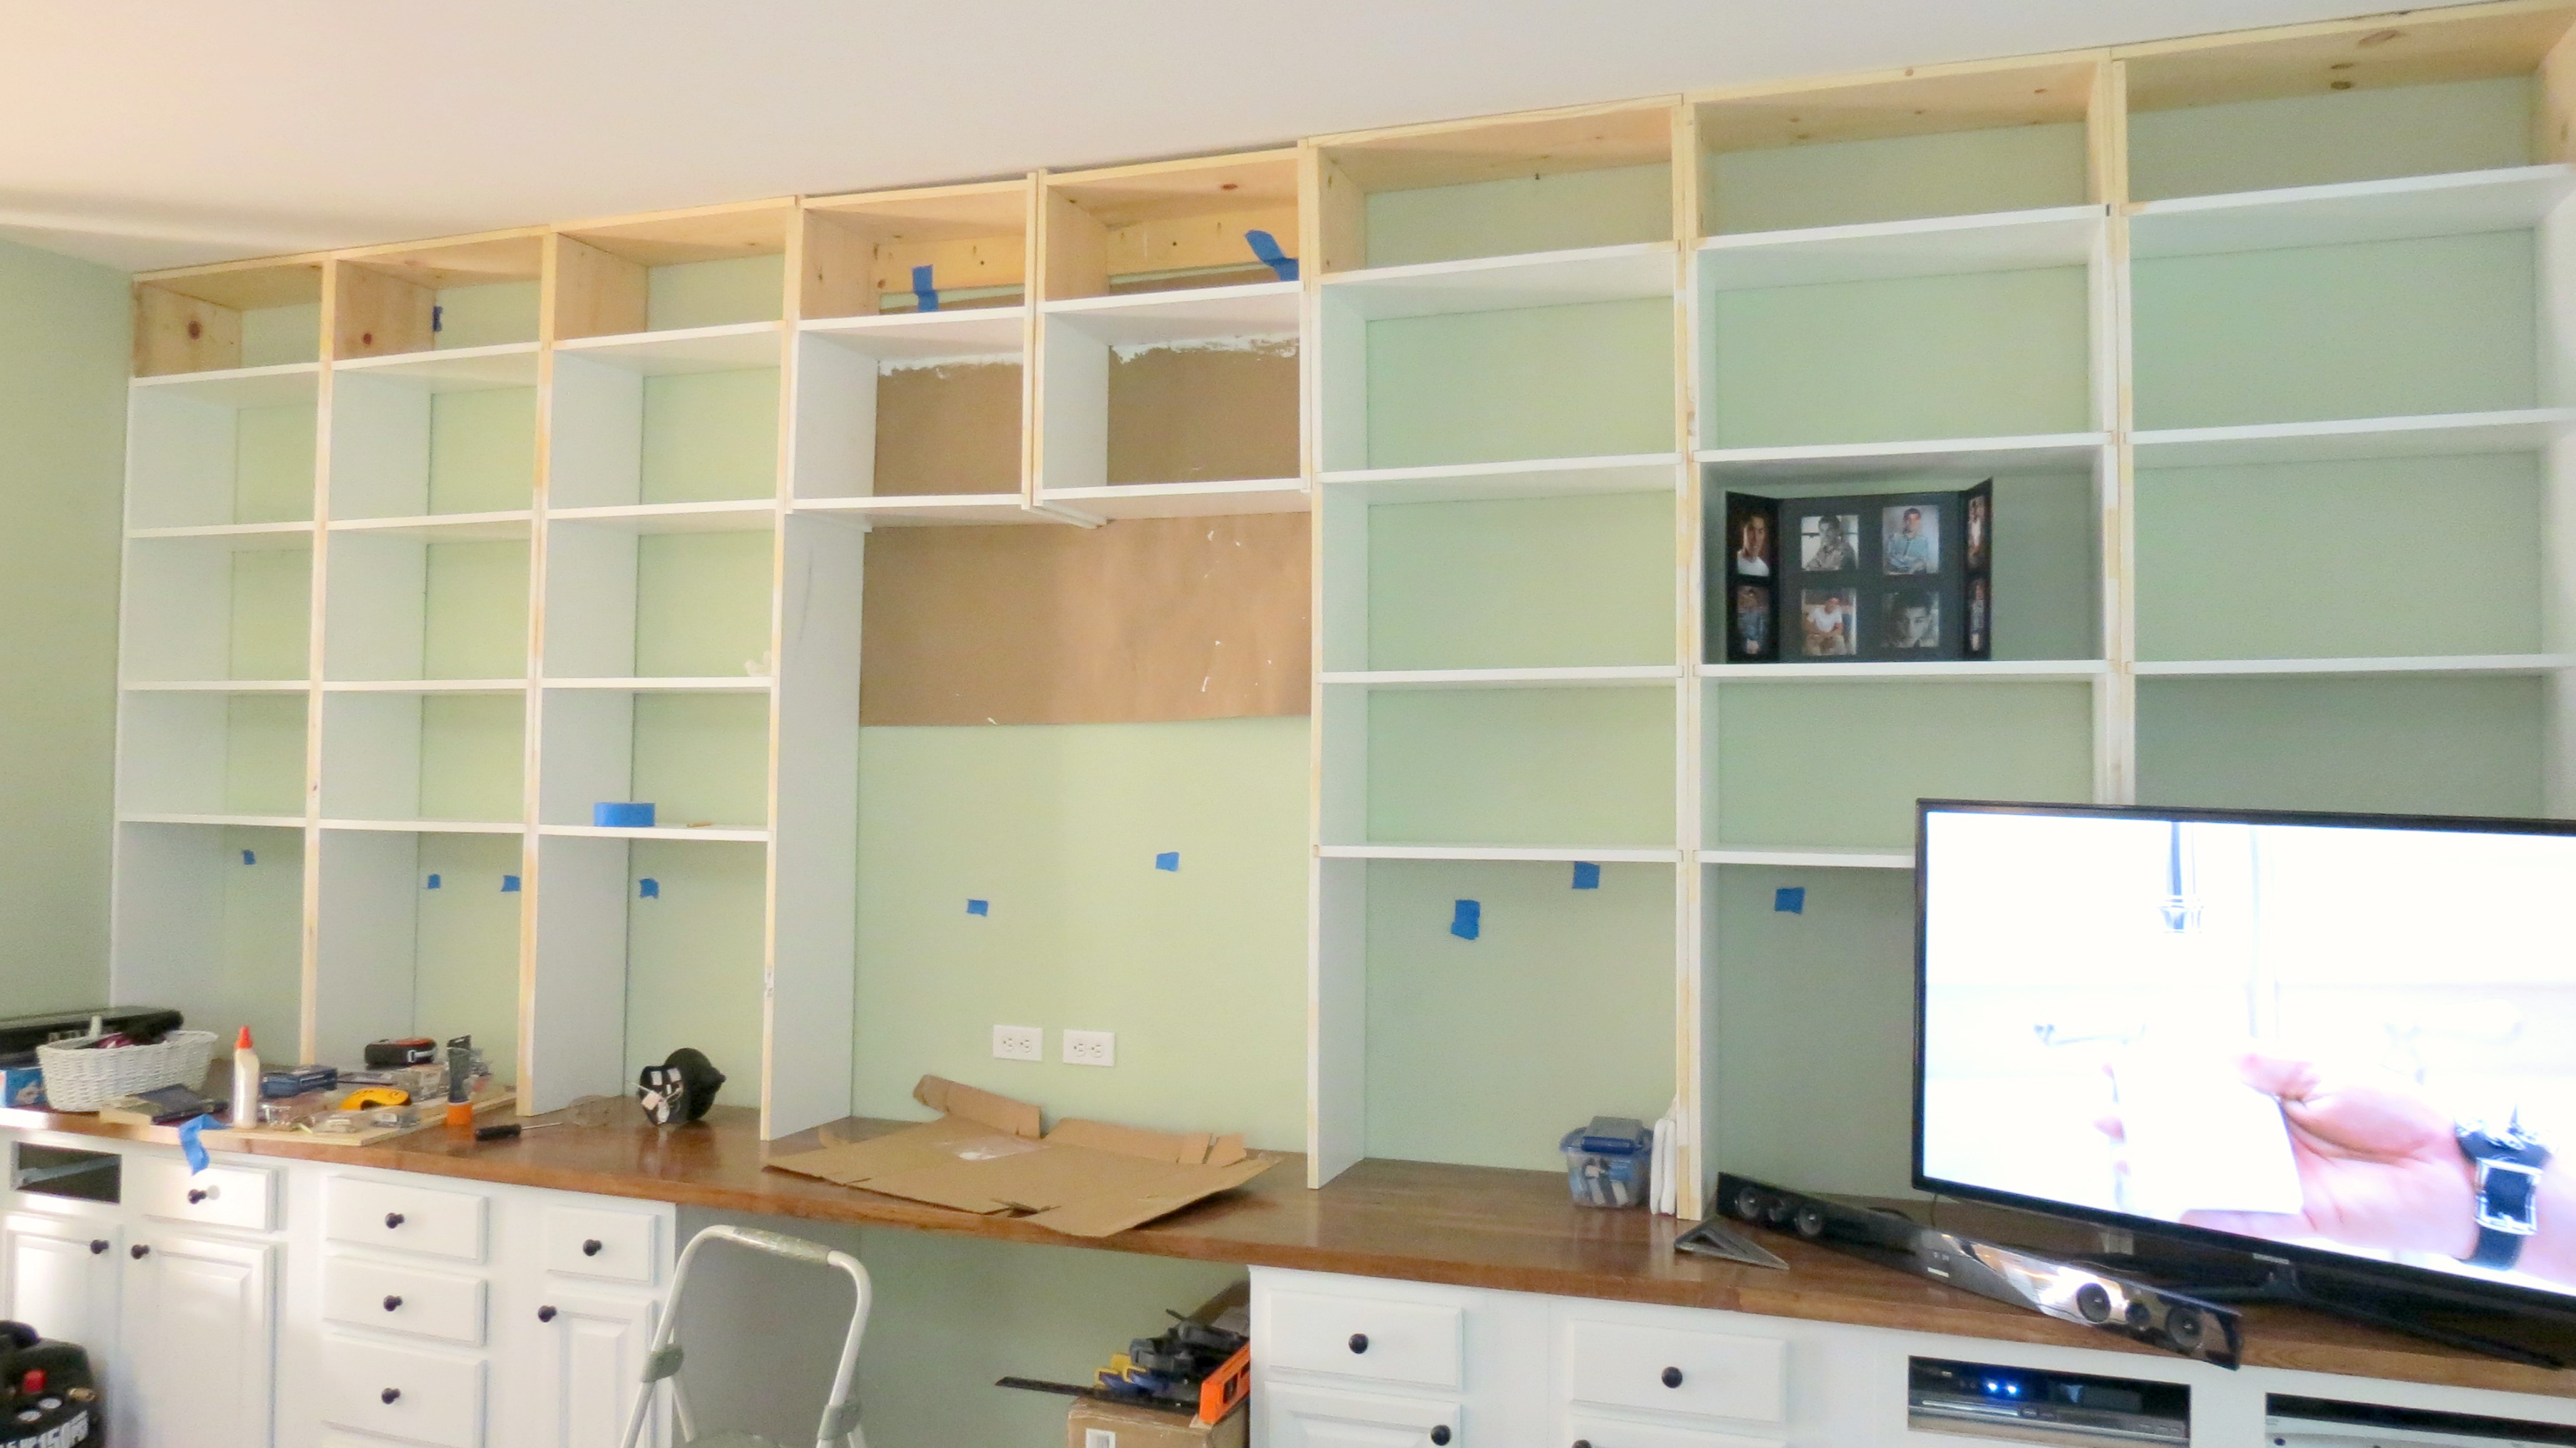
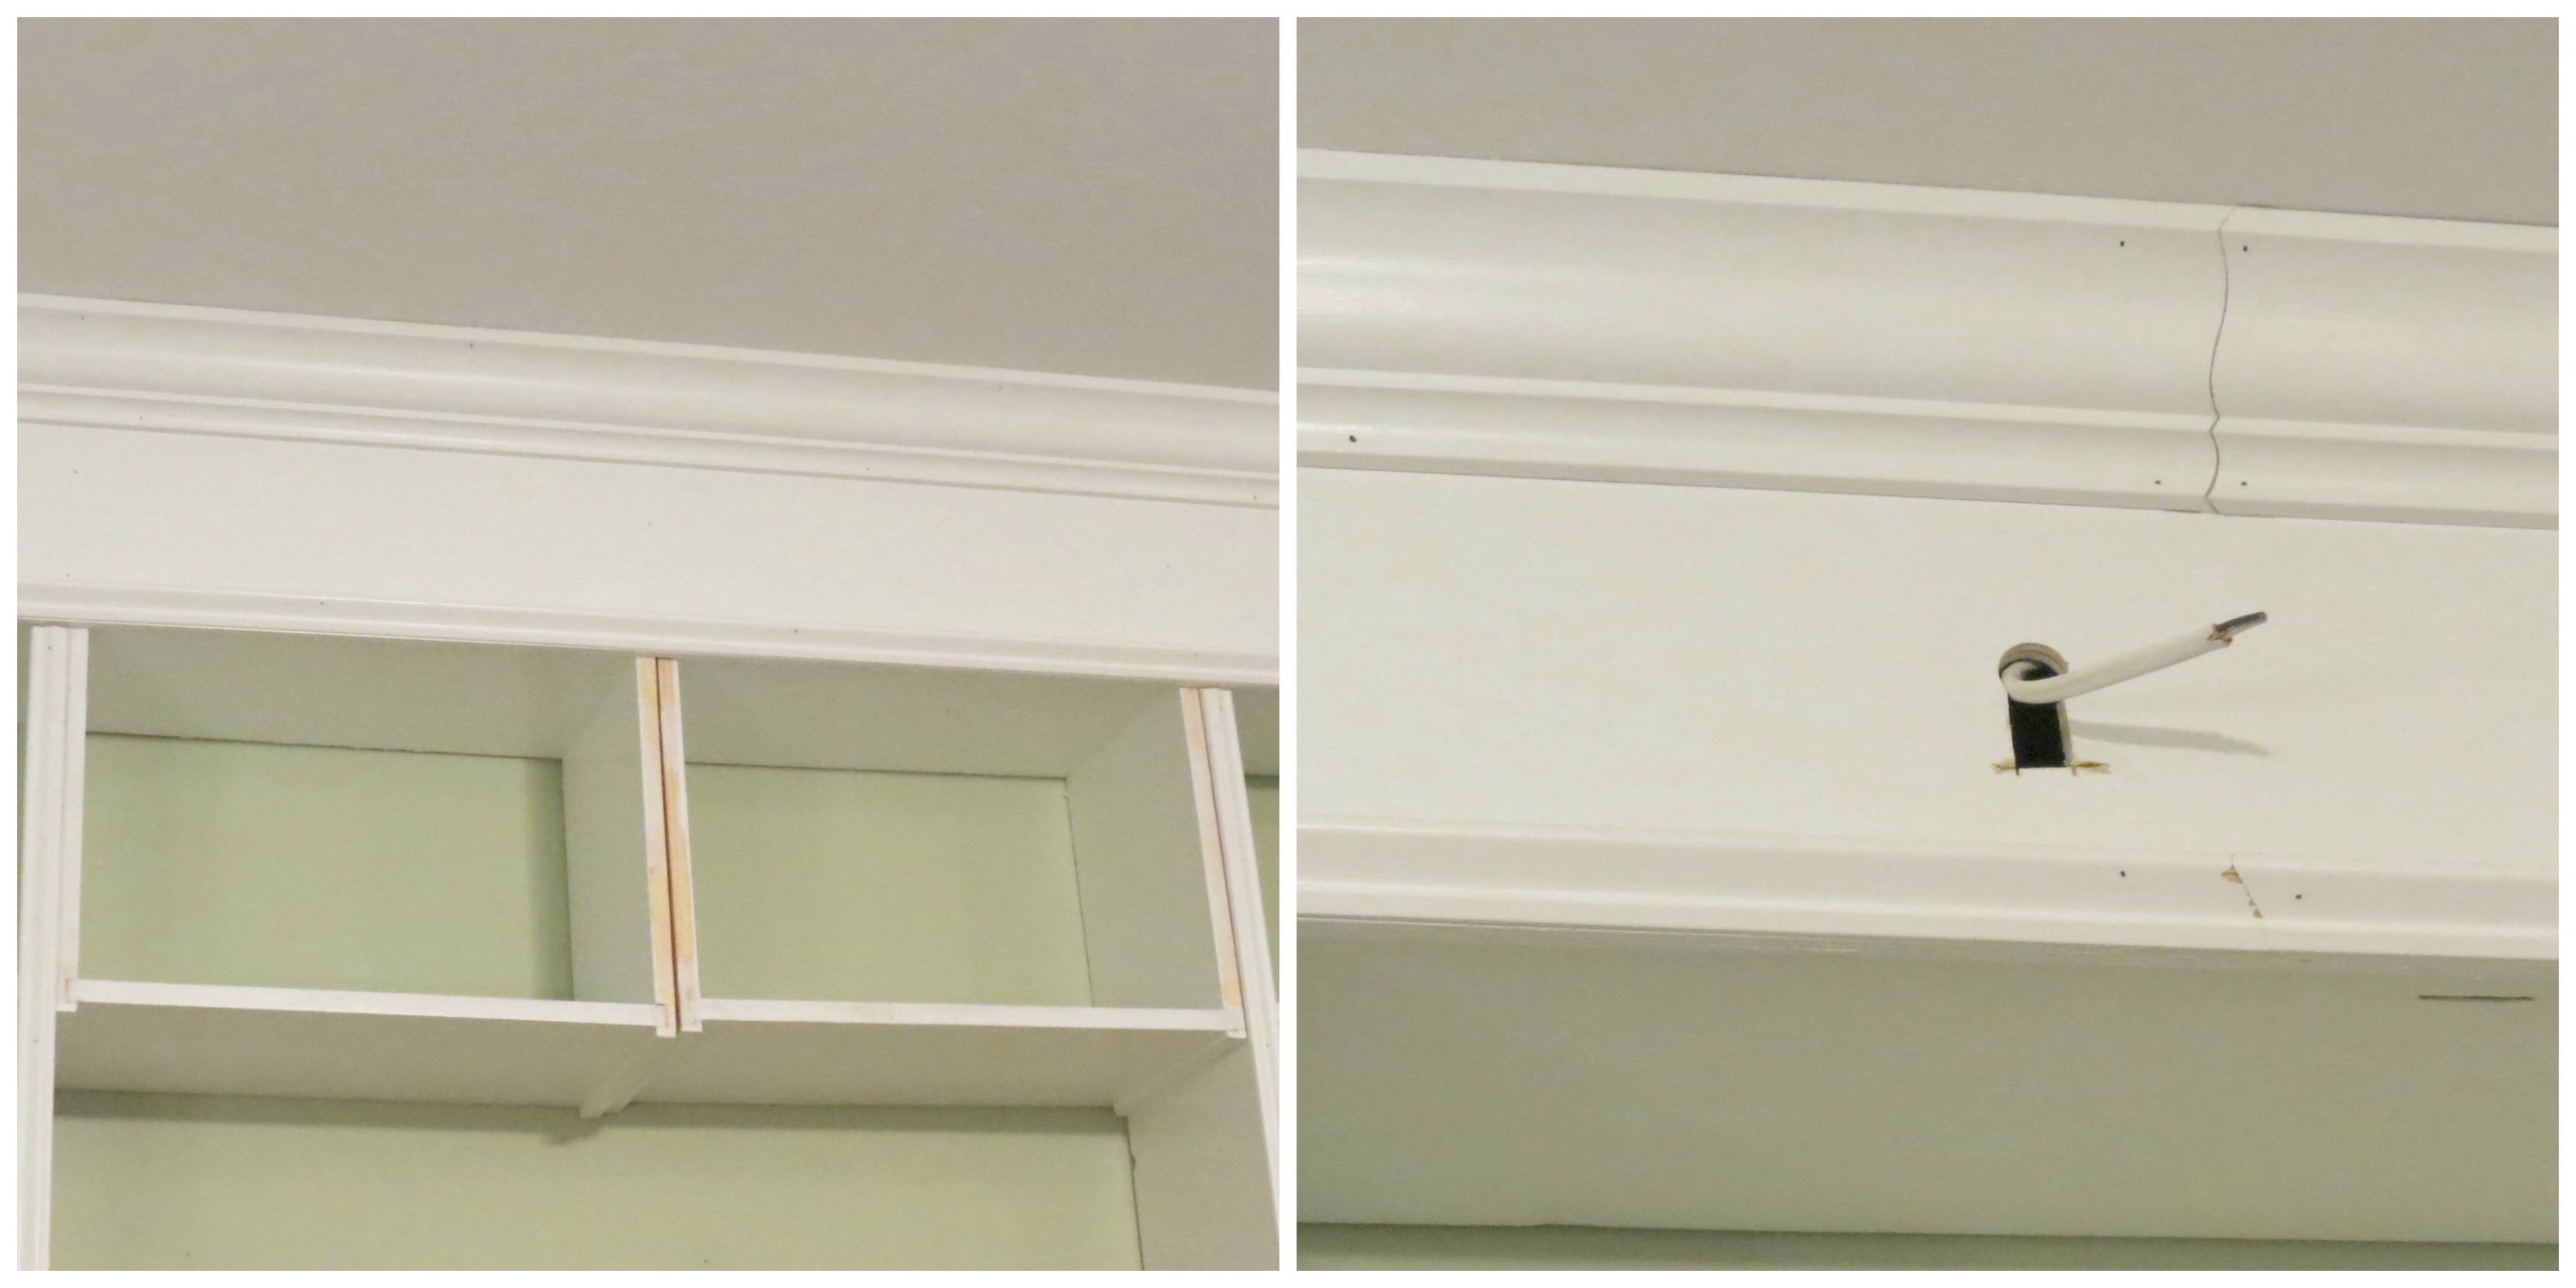
Charlie put an outlet box where the bookcases were going to go because I knew I wanted lights in the bookcases. He explained what we would have to do once the bookcases were in place to connect each light to the electrical box. In the picture above, the electrical box is the tiny blue box in the second box from the left on the top. The wires have to be run to each light where the arrows are pointing. Got it??
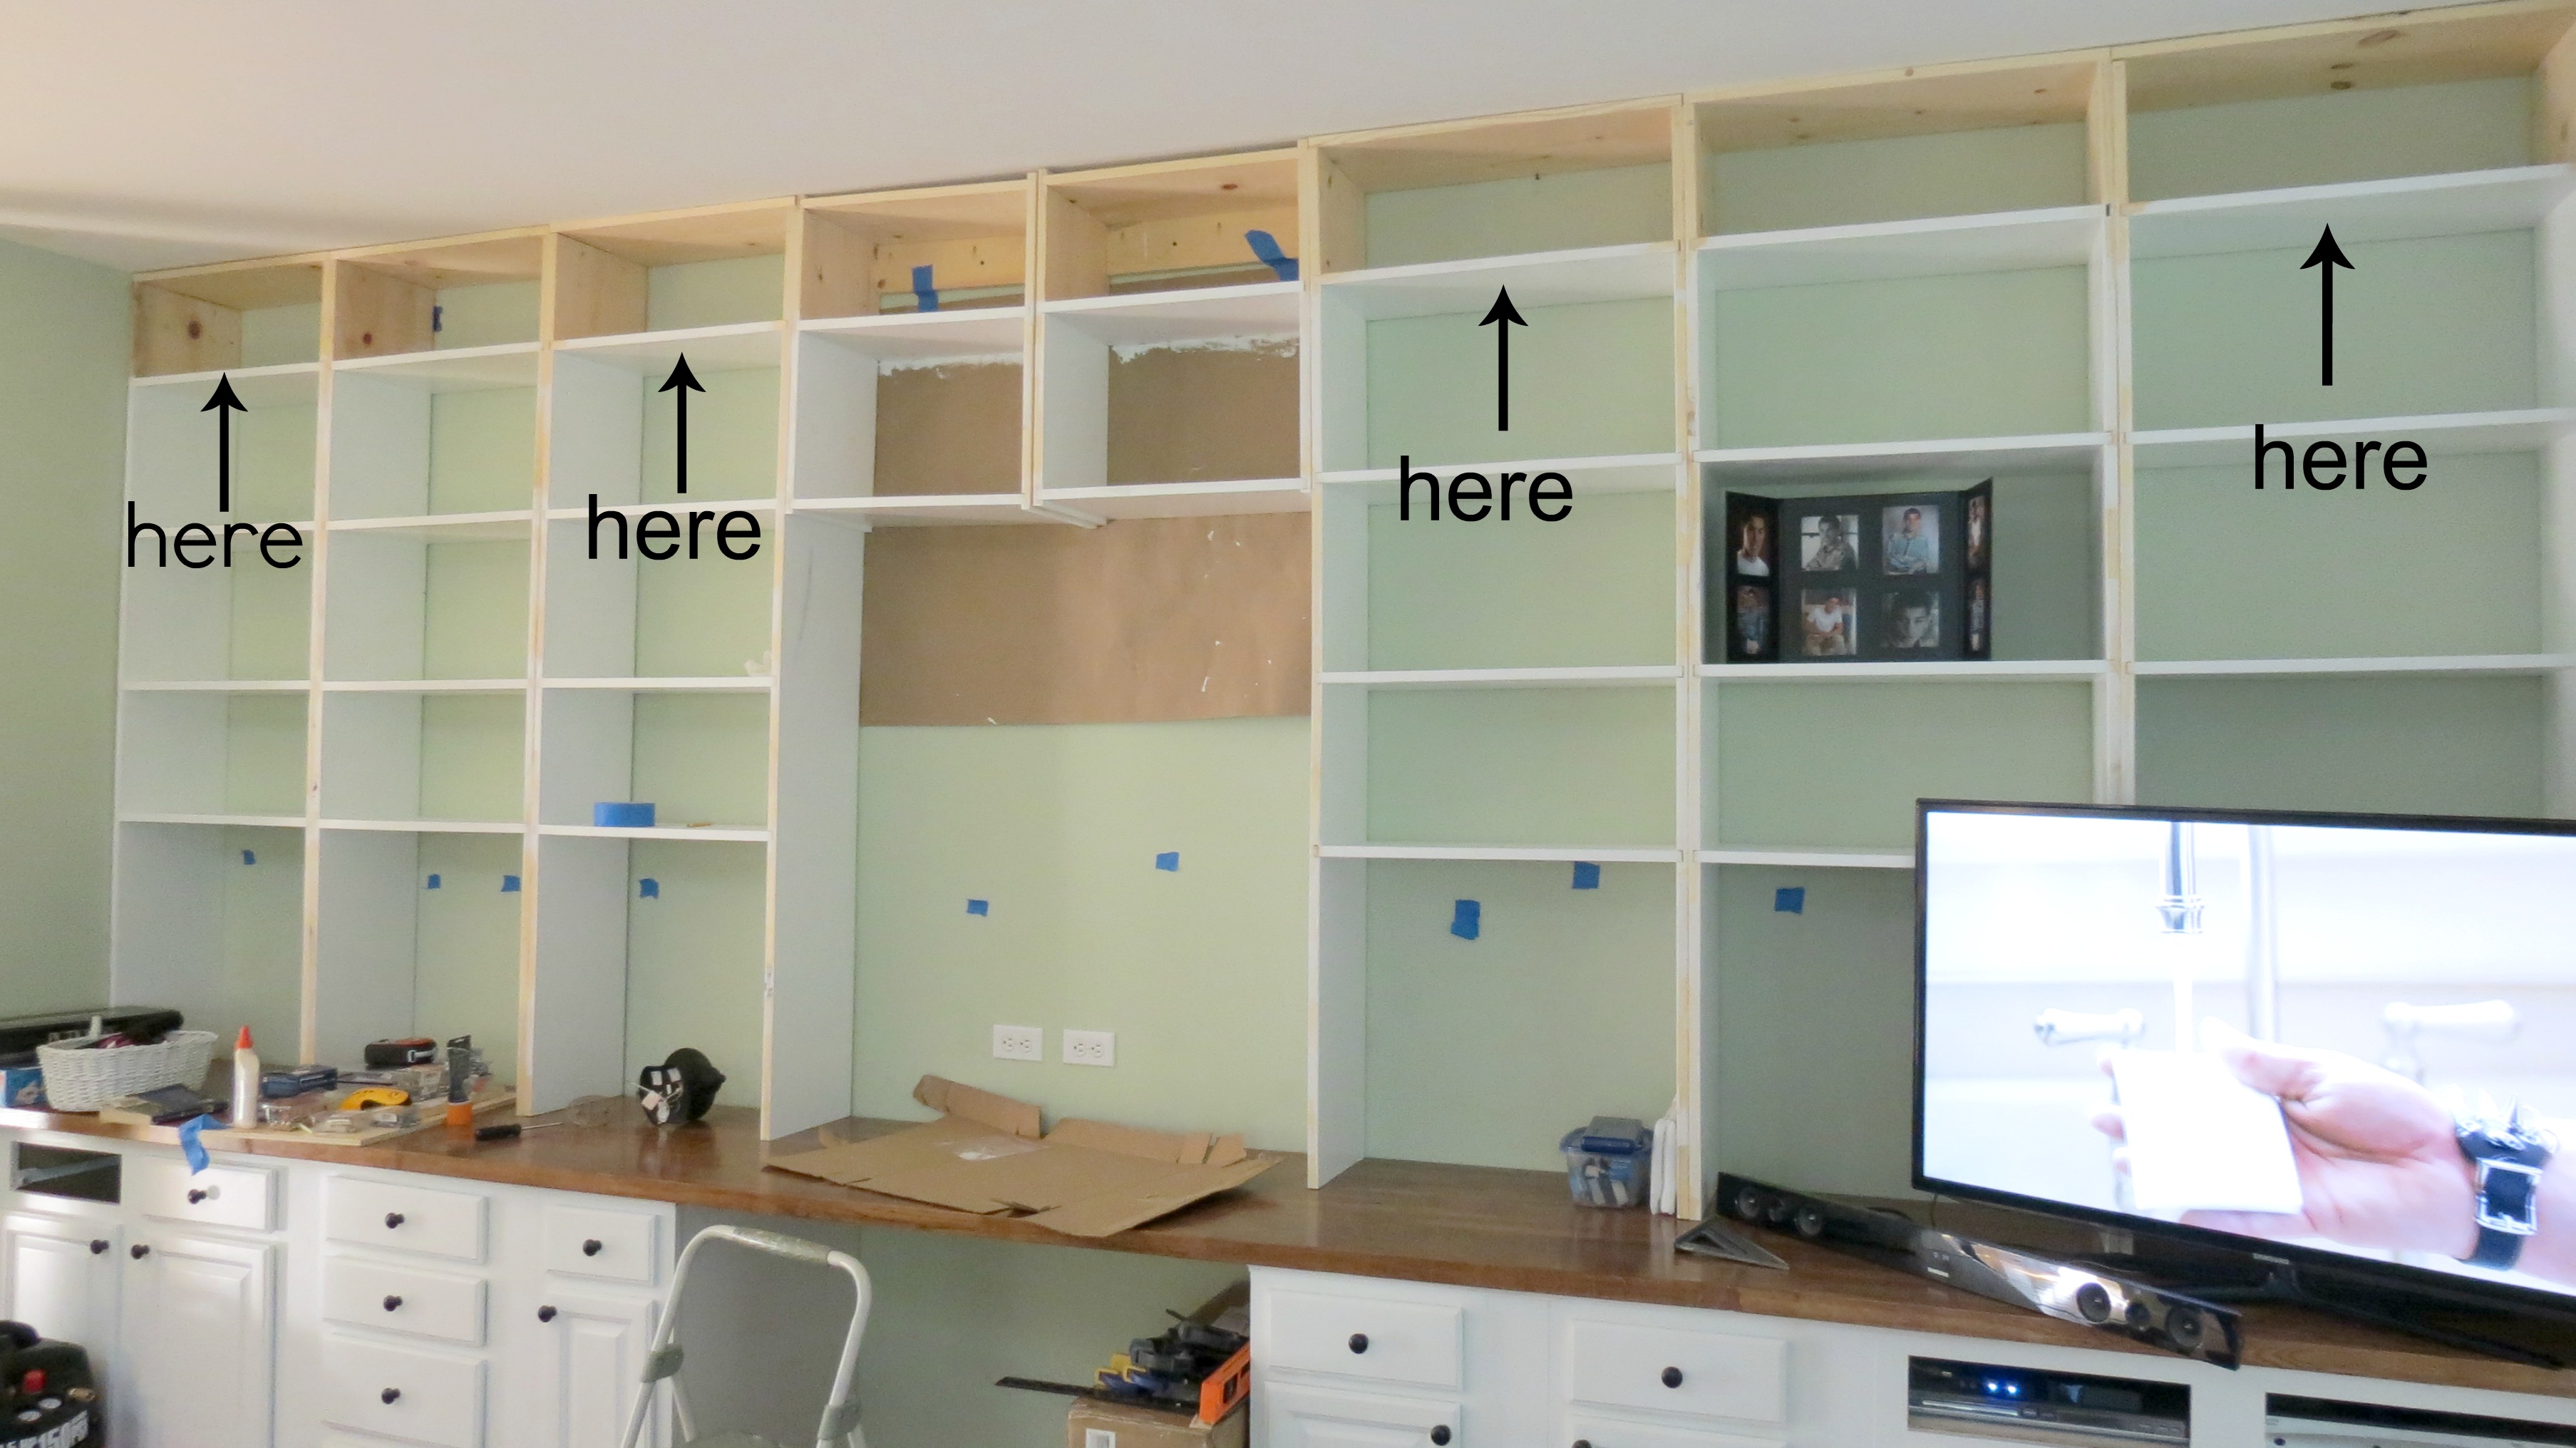
The LOML ran this white wire (14-2 indoor Romex wire) to each box that will have a light. He drilled a small hole on the side of each shelf to feed the wire through.
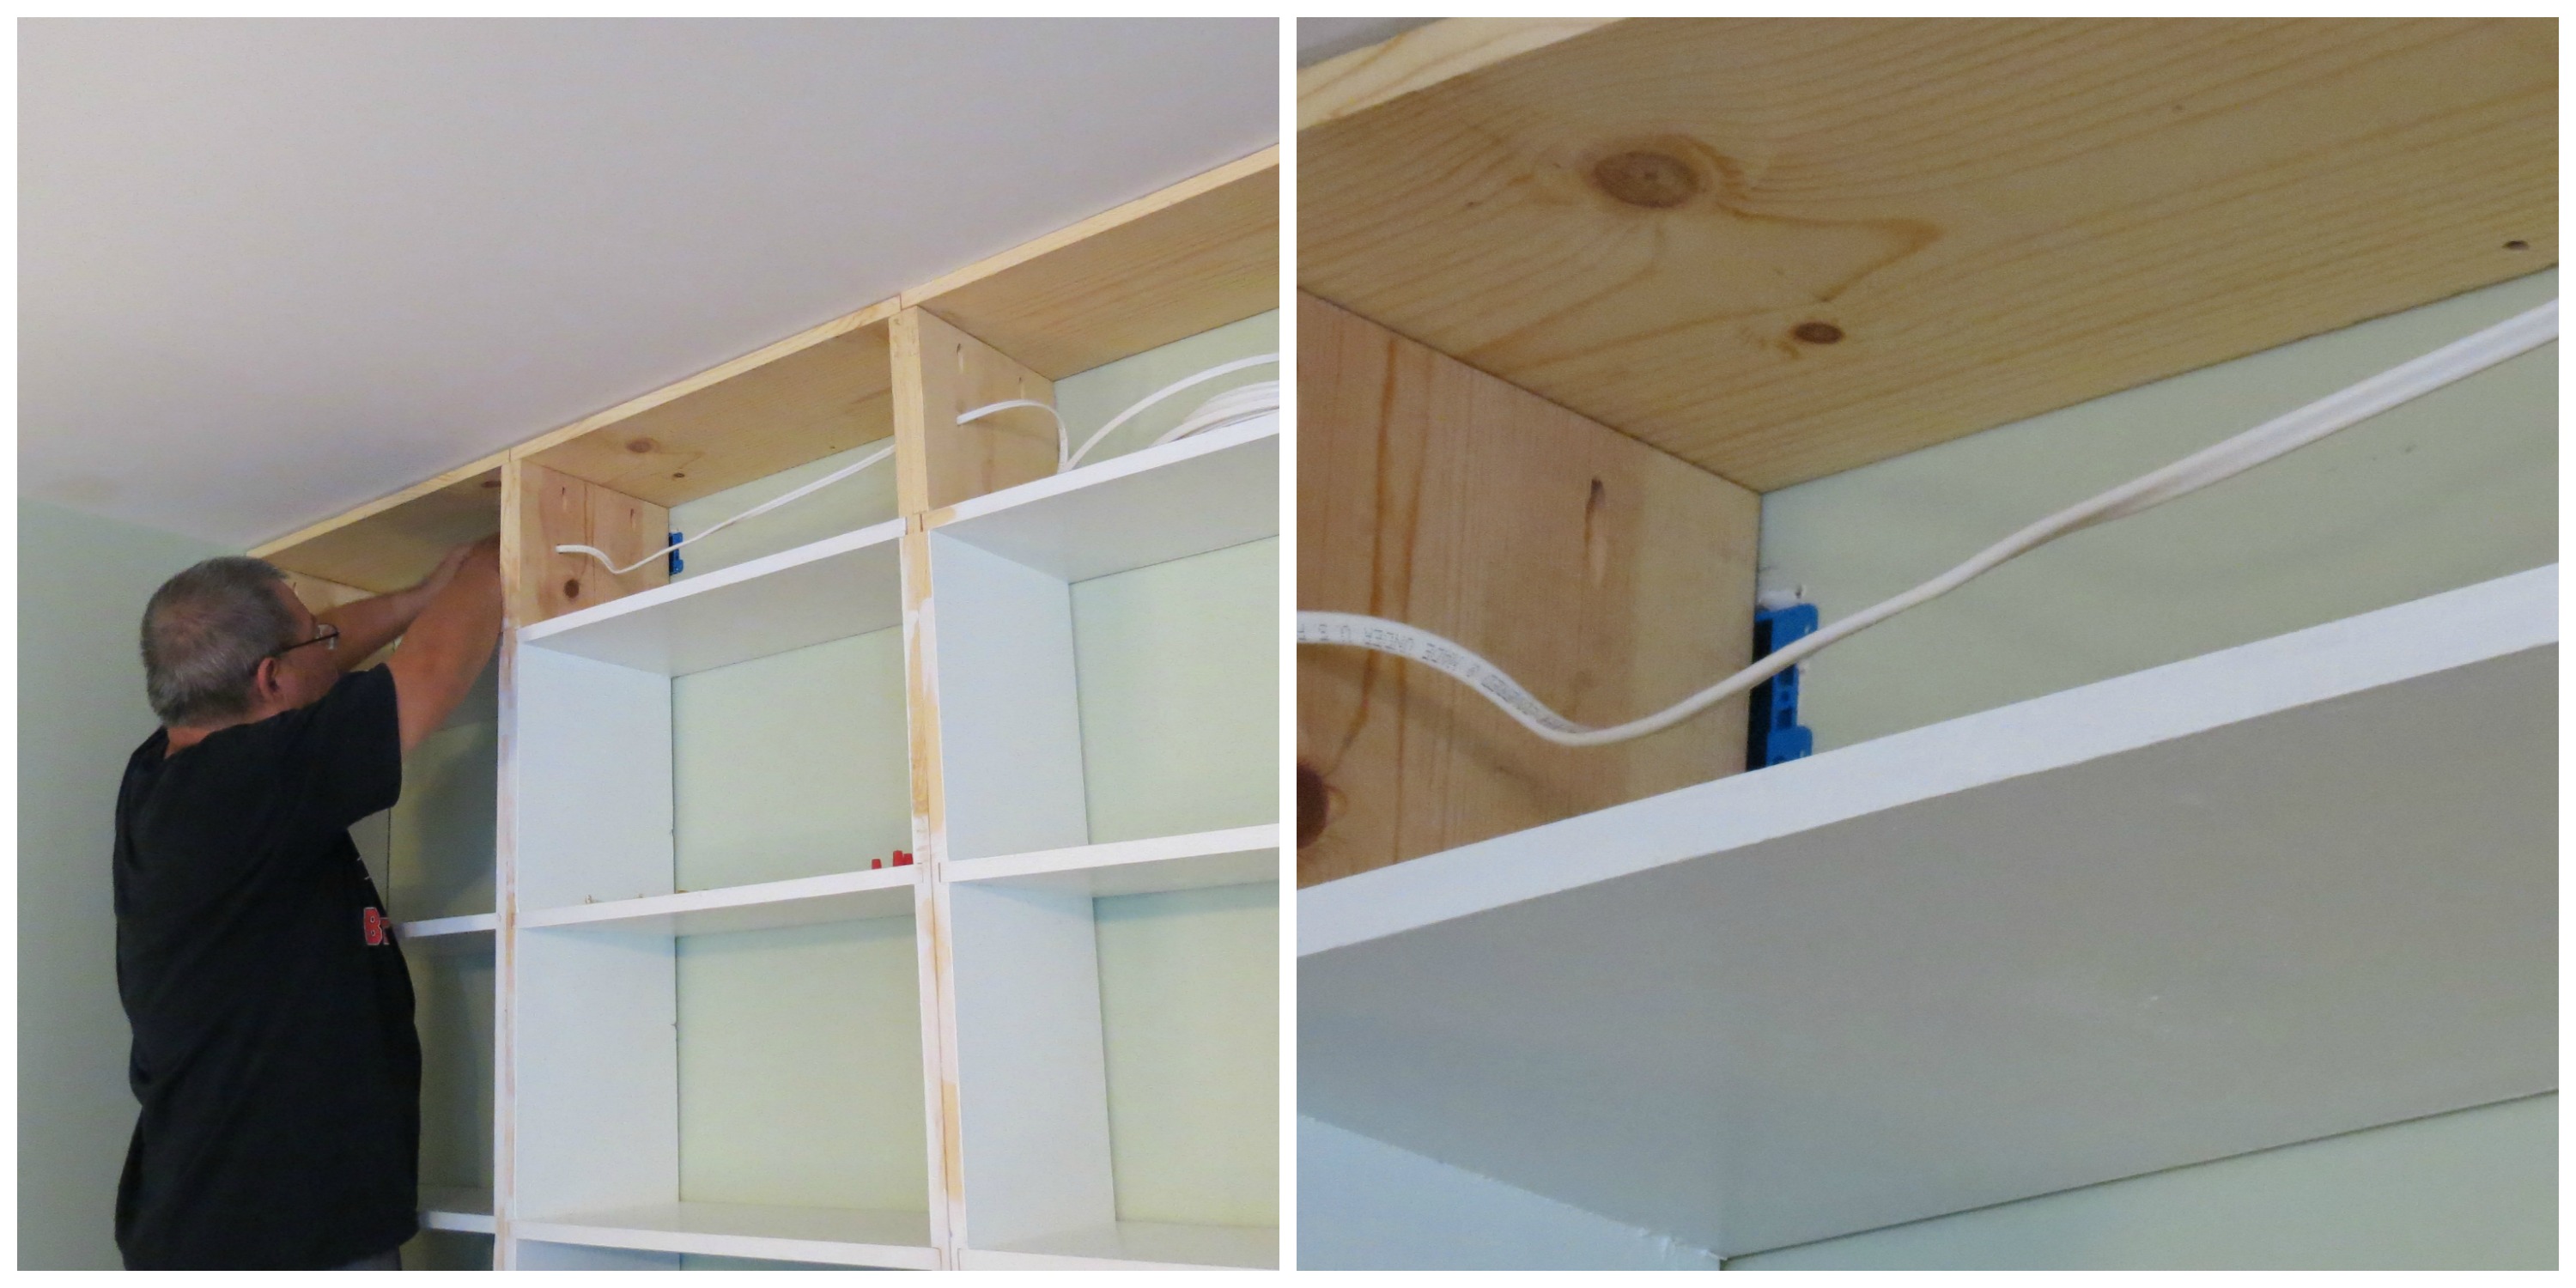
Then he stapled the wire to the front and top of the box so we could access it once we put the board in front of it and drilled a hole to pull the wire through and connect to the sconce.
Next, the board (I'm going to call it fascia for lack of a better word)…….
We nailed the fascia to the front of the bookcase after I primed and painted with two coats of trim paint.
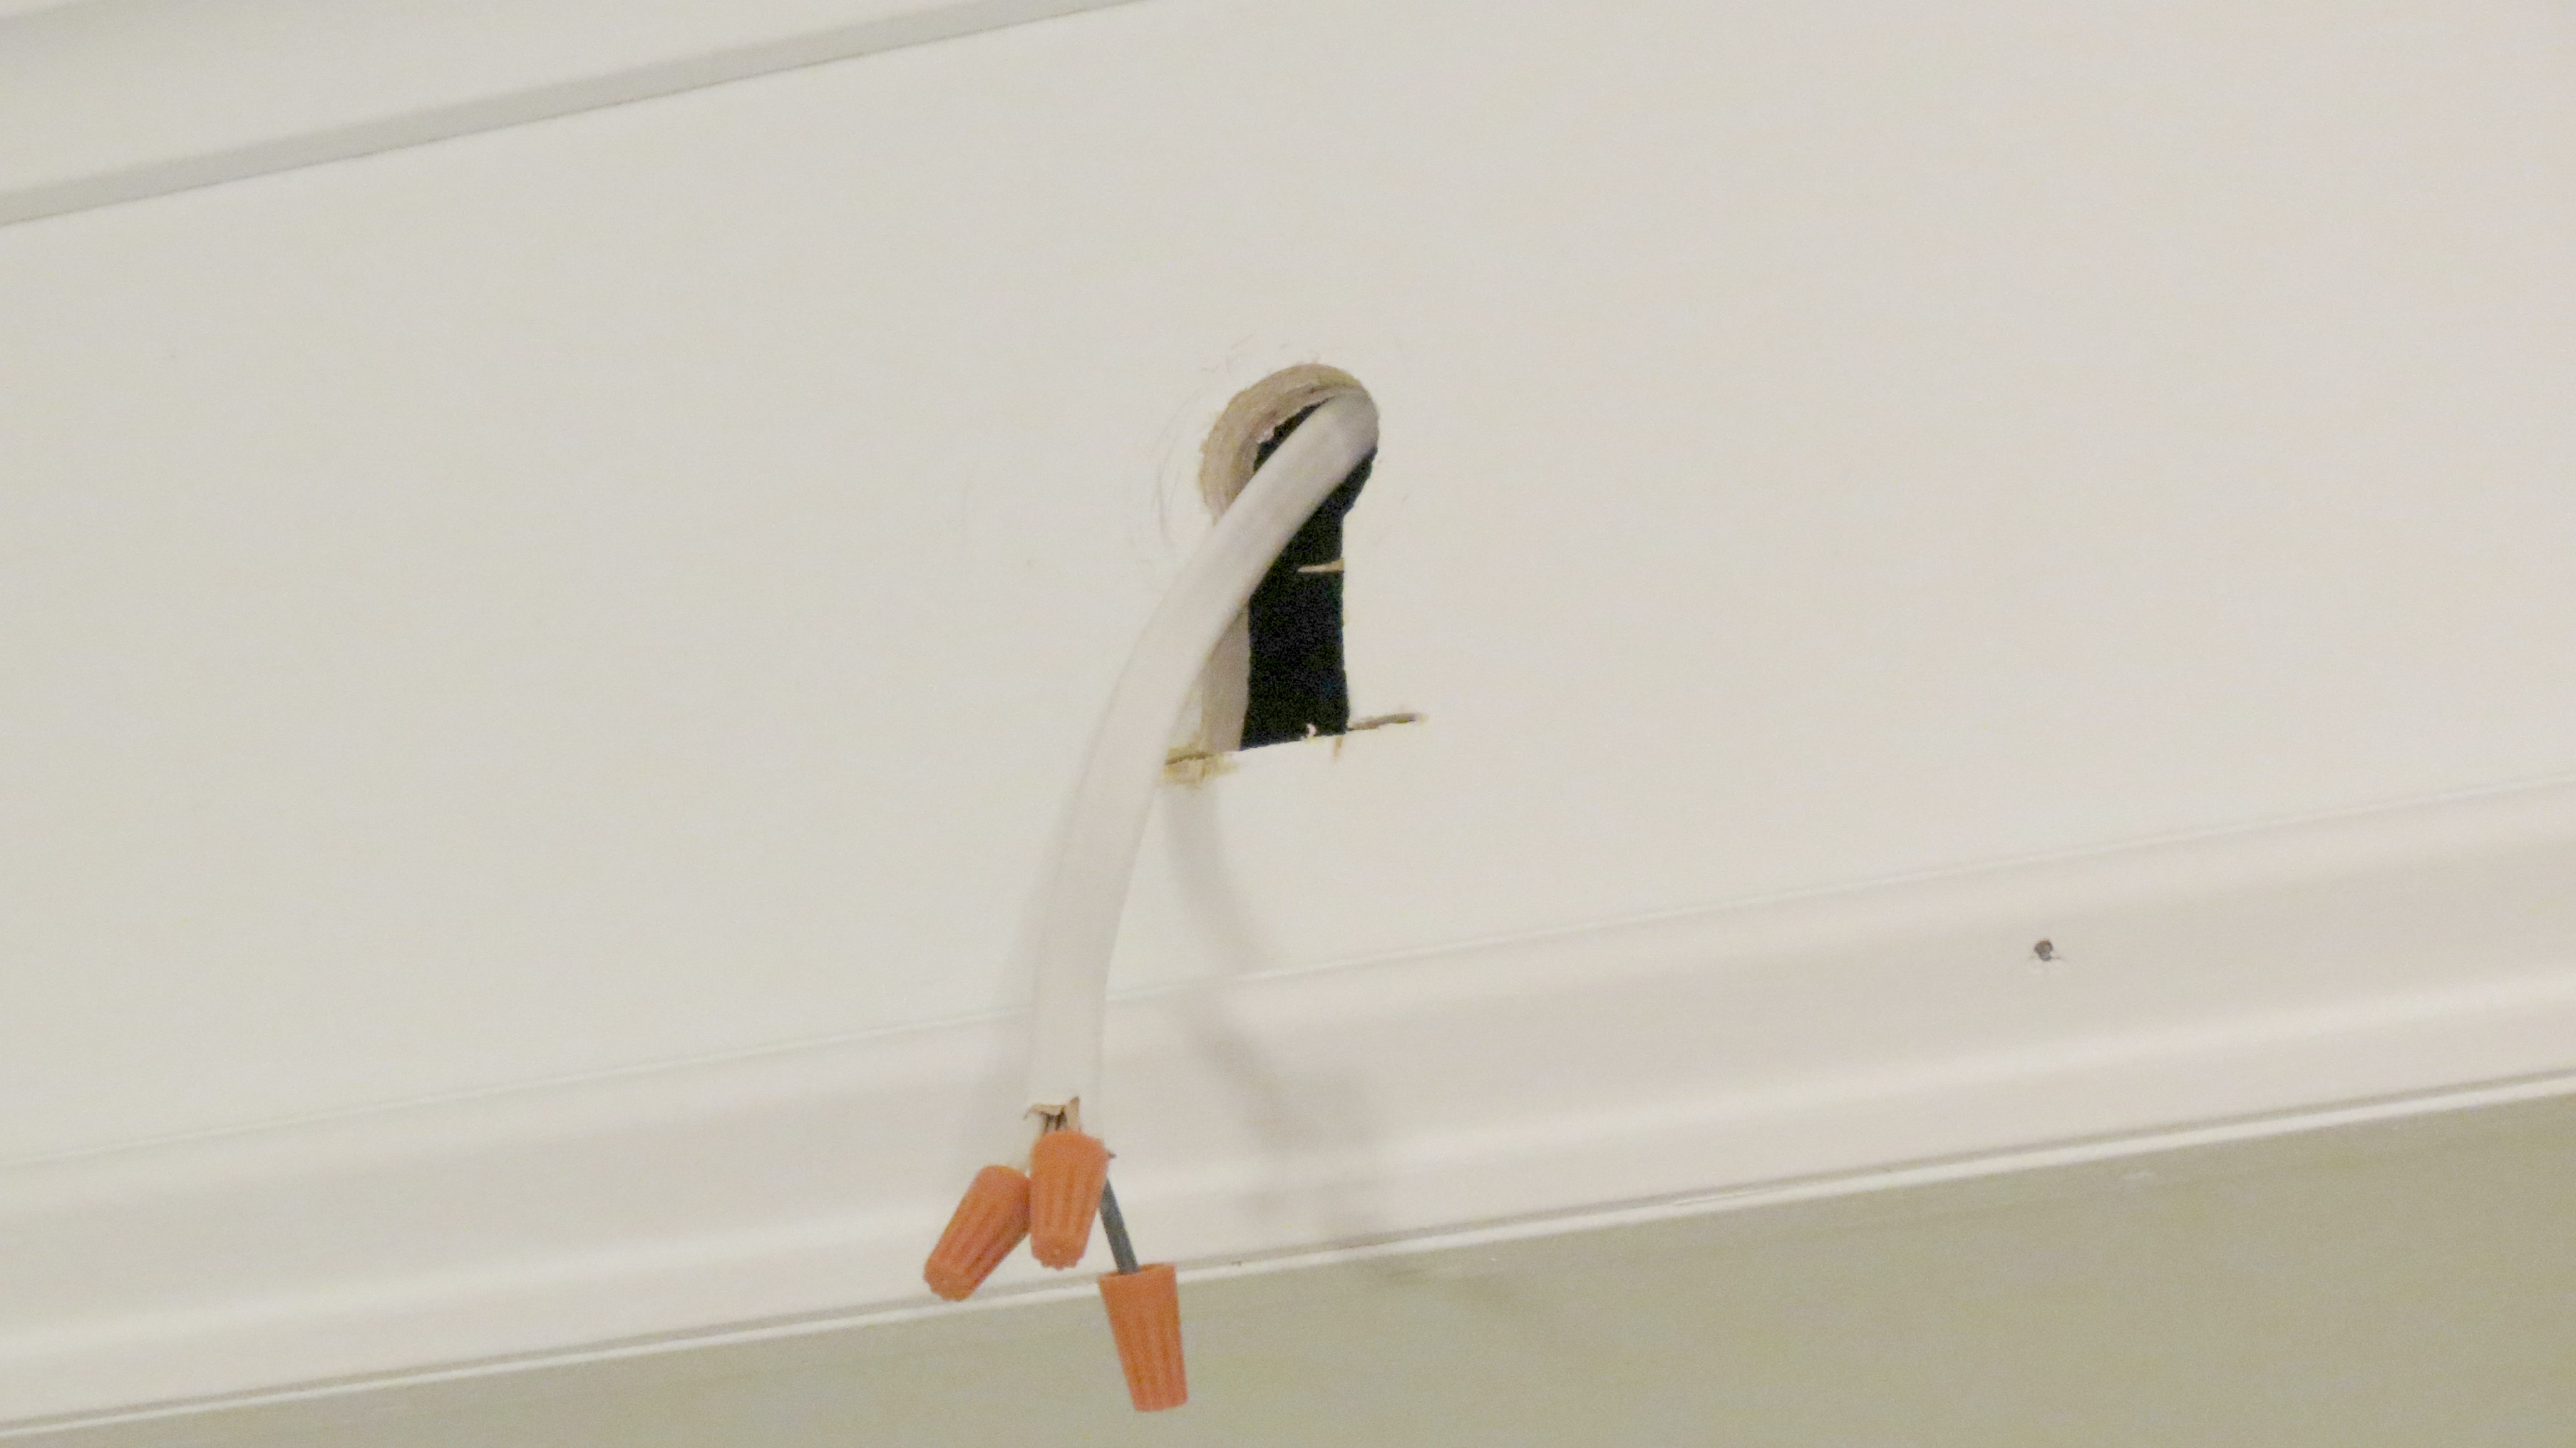
Now comes the drilling. The LOML used the power drill to drill a small hole where each sconce will be placed. He then tried to pull the white wire through the hole. The white wire wasn't behaving and it wouldn't bend enough to get through the hole so Plan B was to use the oscillating tool to cut a bigger section to get that sucker out!
PLAN A
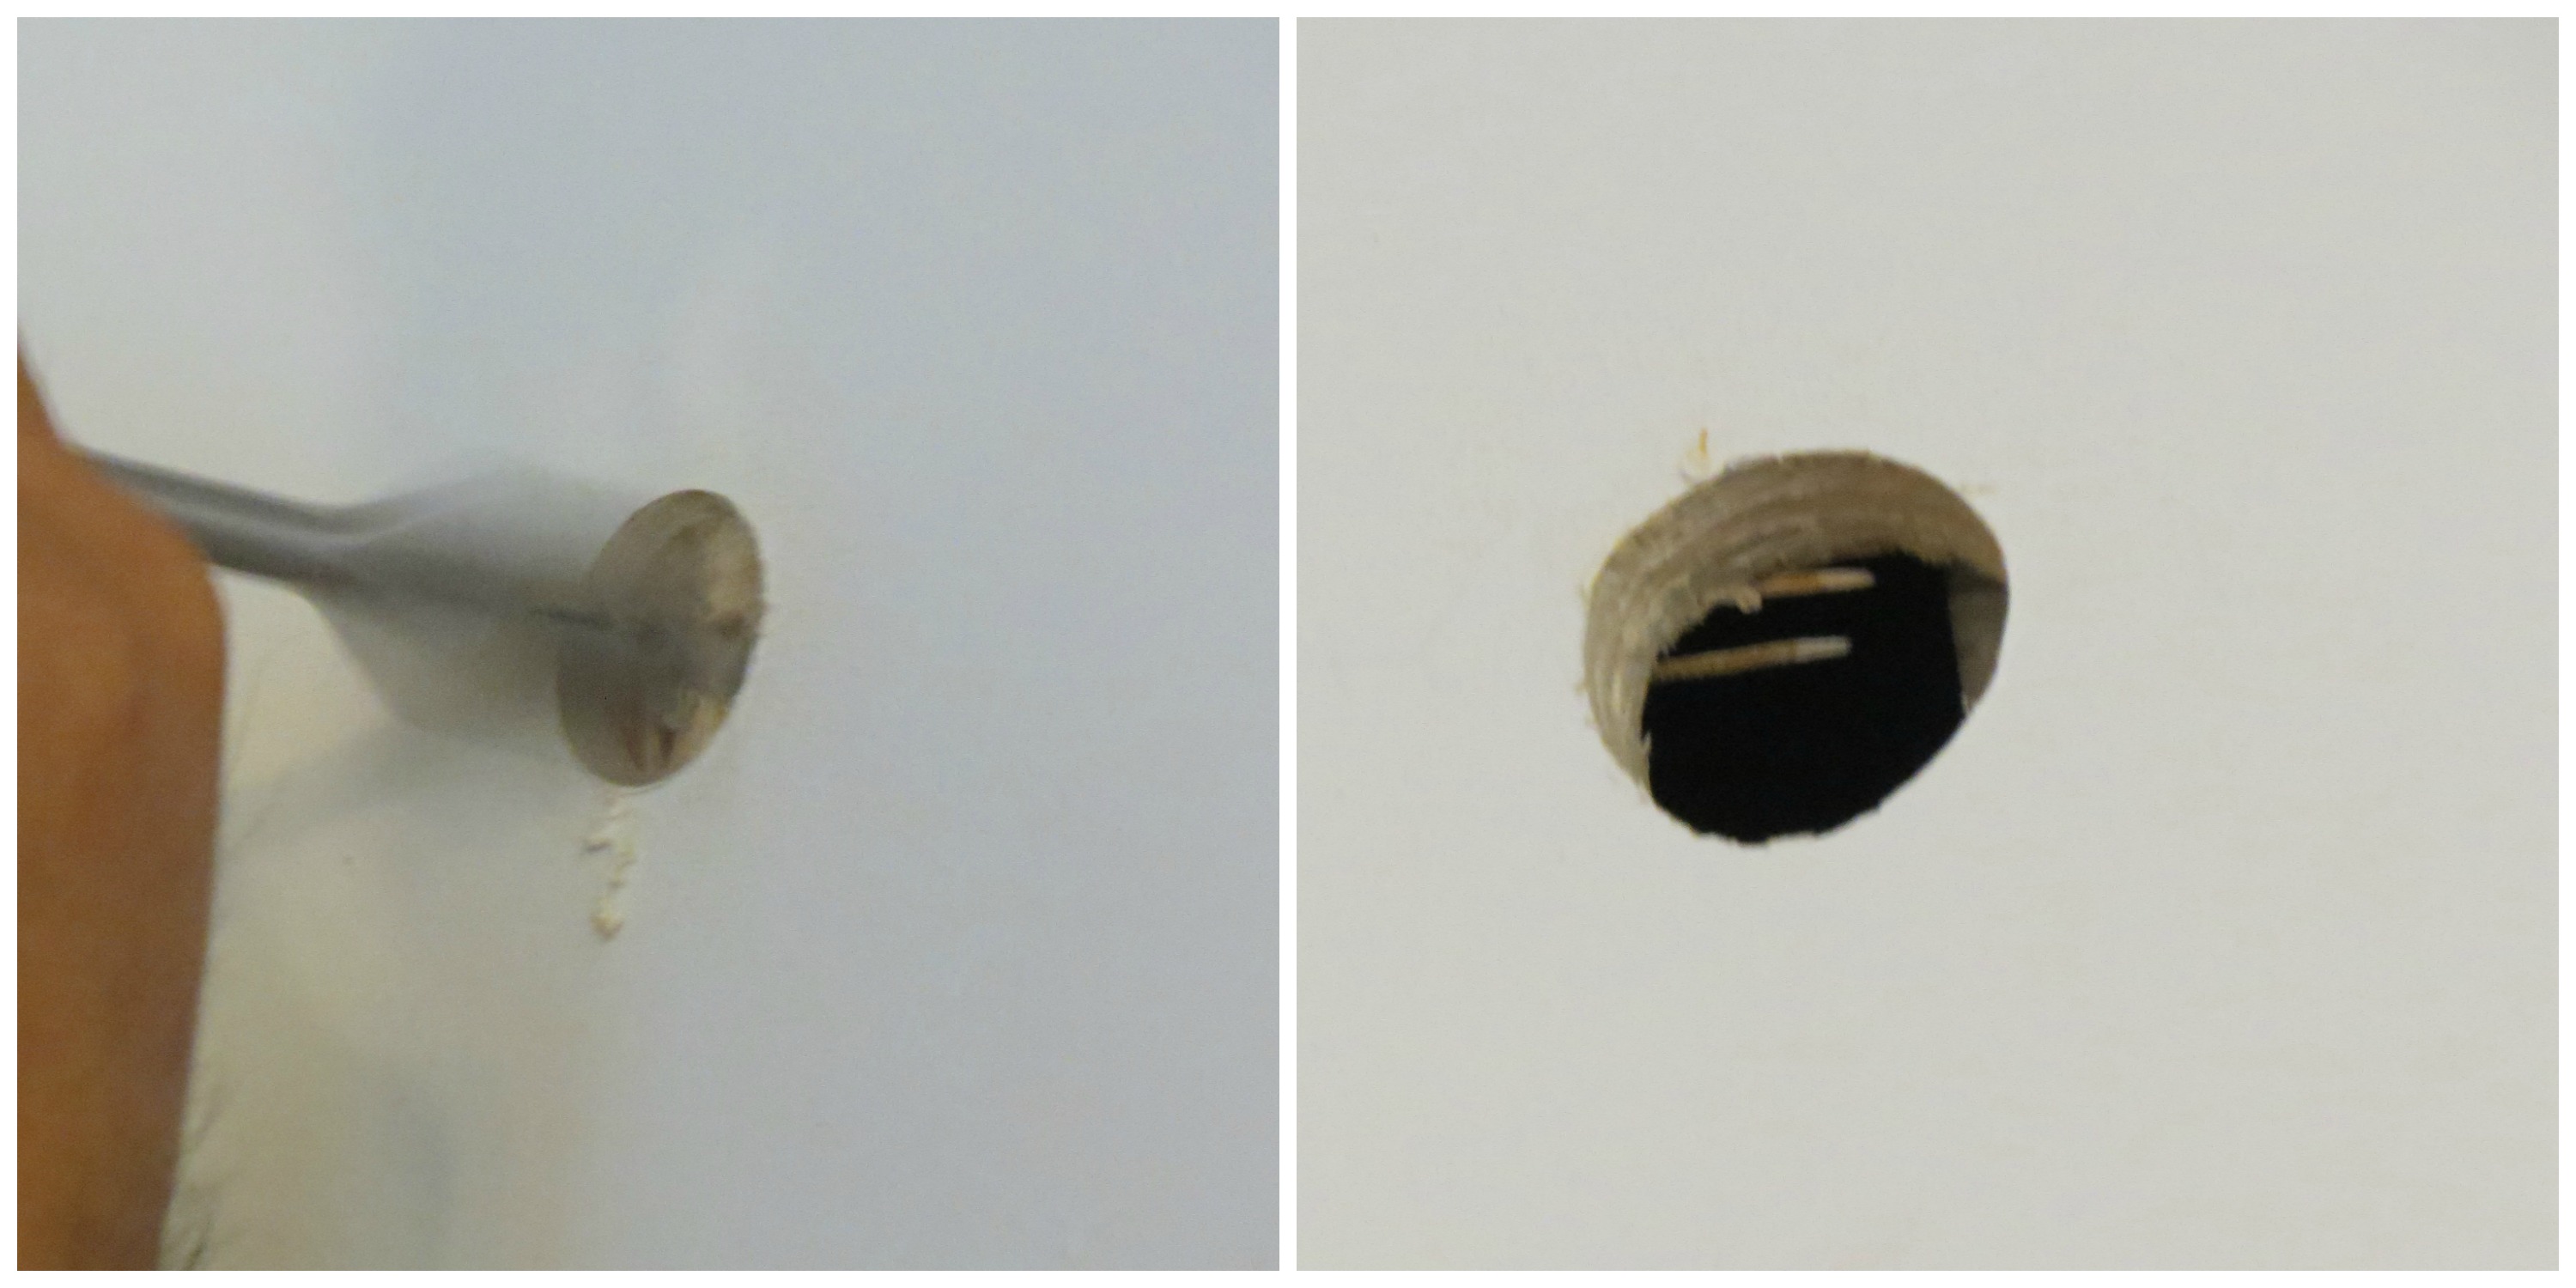
PLAN B
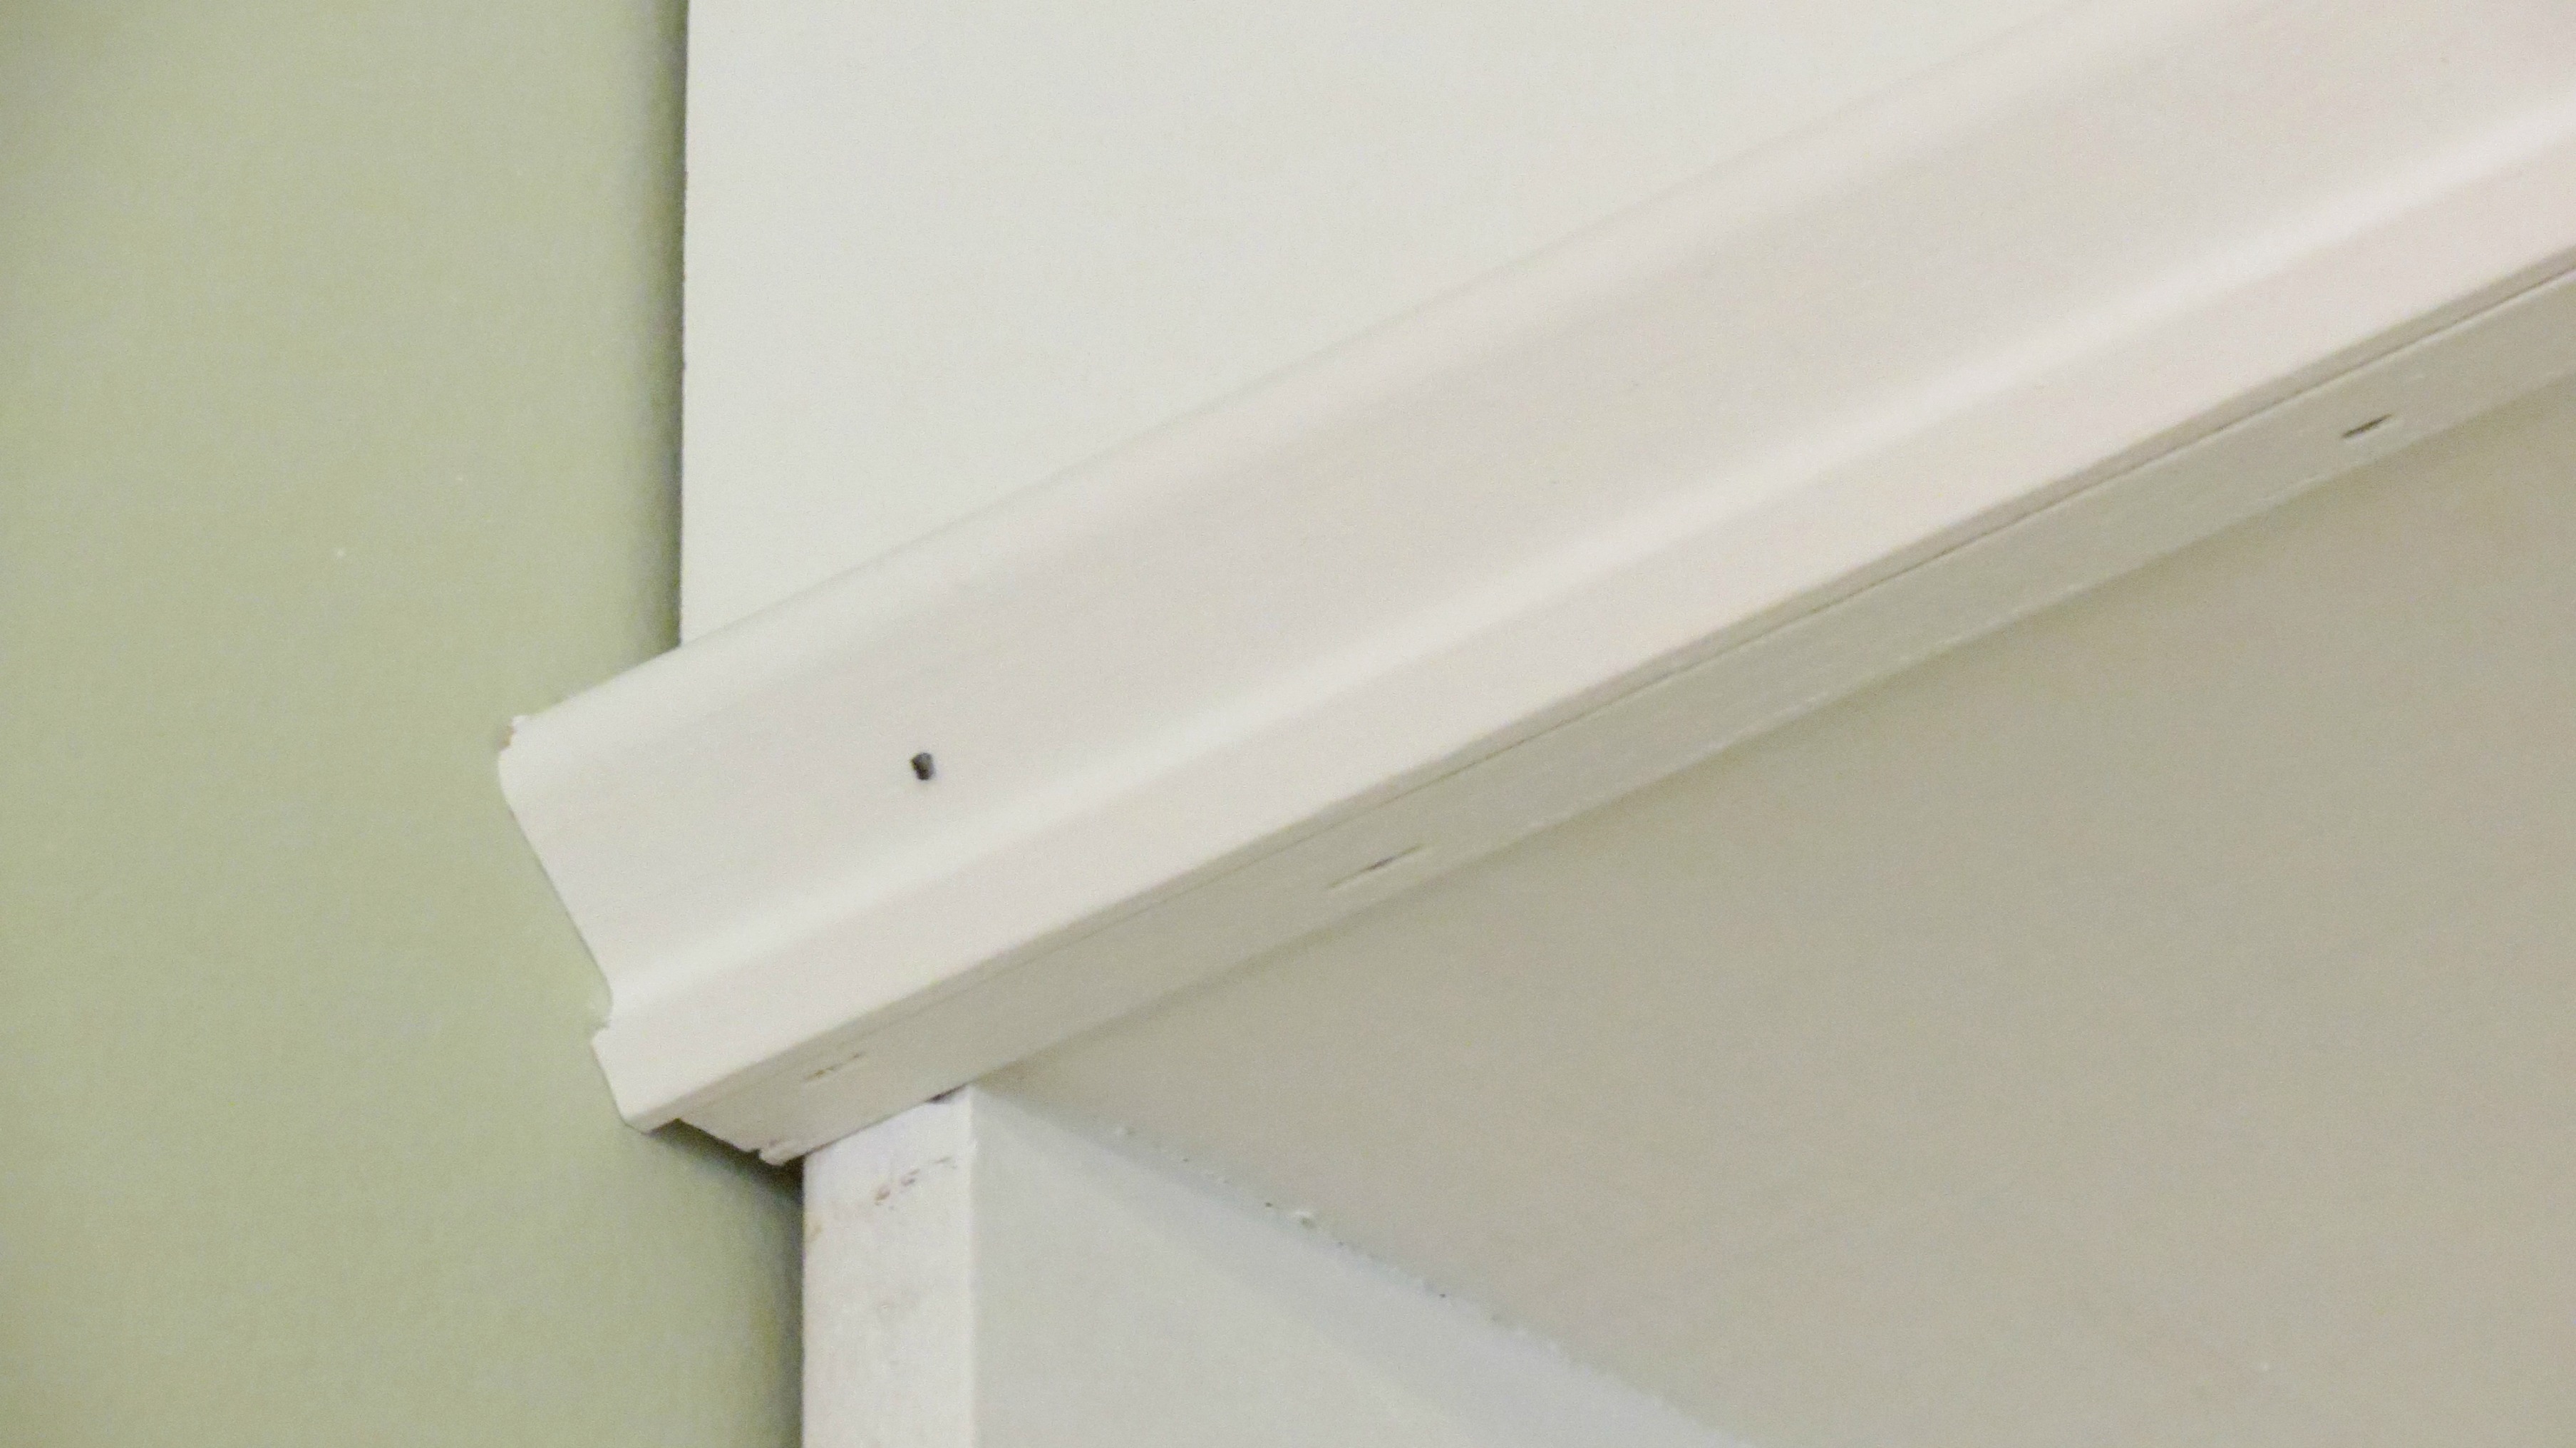
The next step was adding the crown molding to the top of the fascia (the board). We copied existing molding we had in our dining and living rooms.

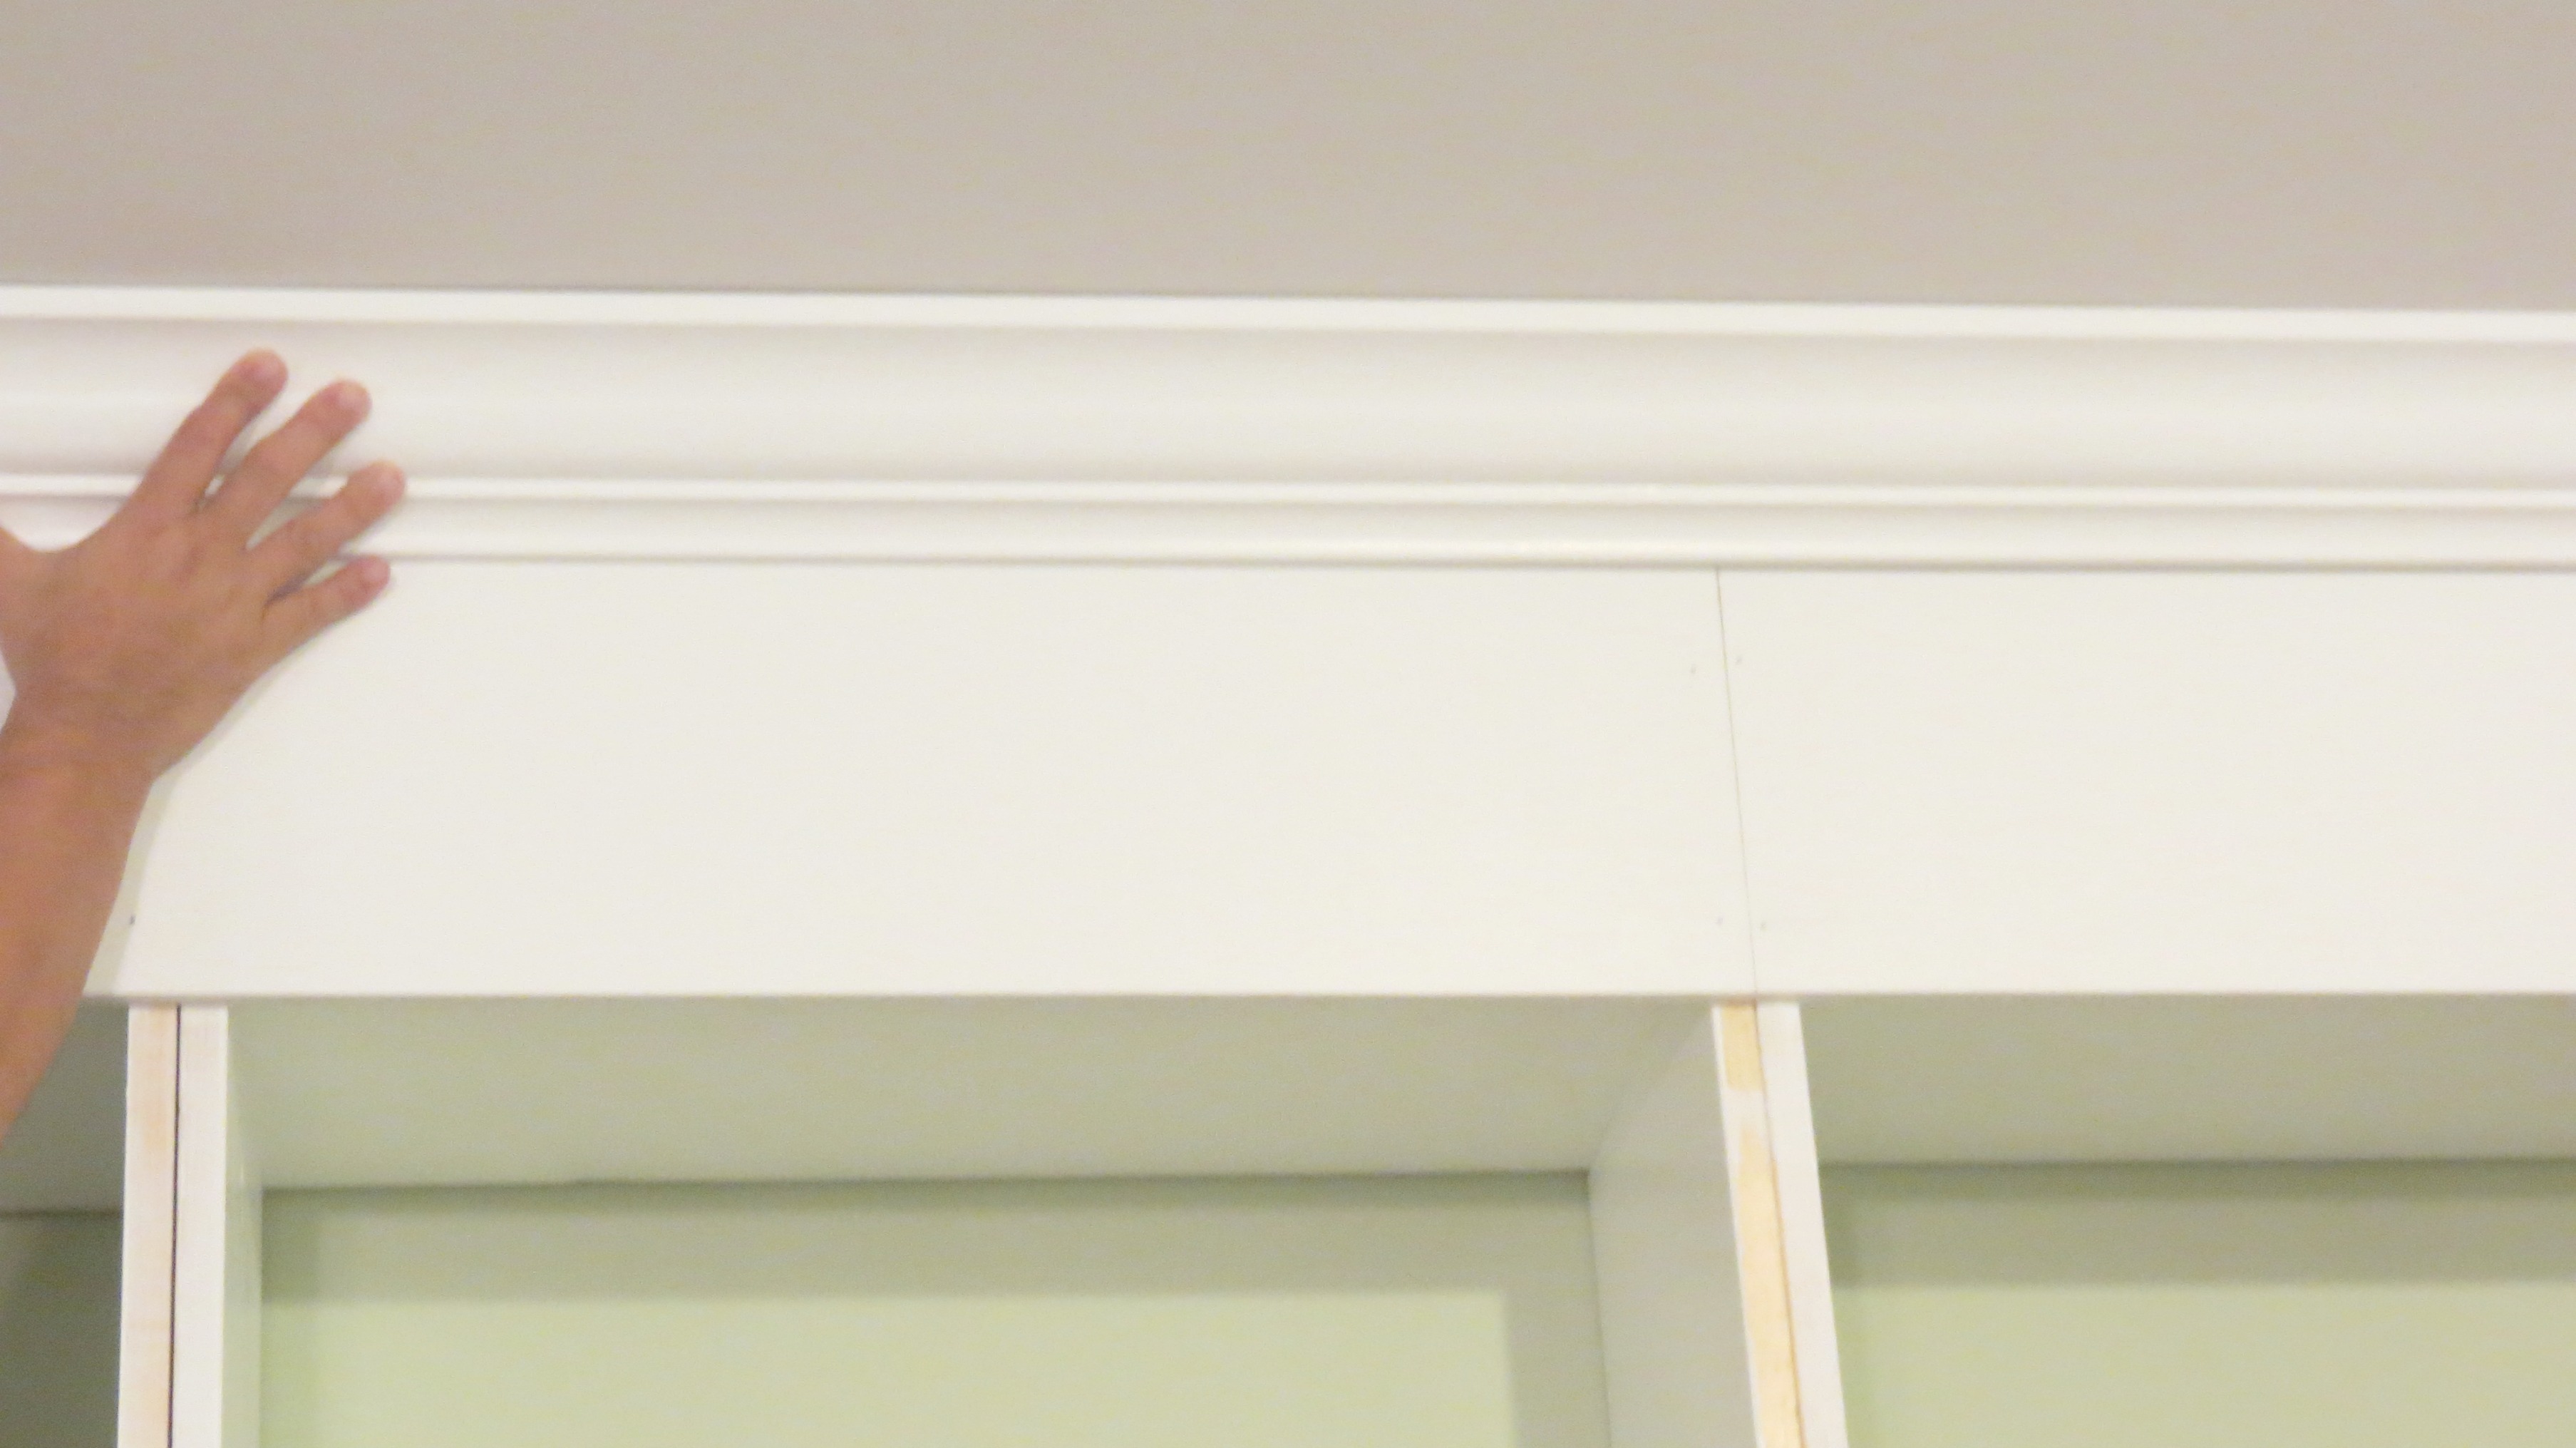
We also added chair rail molding on the bottom of the fascia just like in our dining and living room. We used our trusty pneumatic nail gun for both.
We had company for dinner so we had to stop before finishing the trim. Hopefully, we'll get some time this week to finish up and hang the sconces.
Hope y'all have a GREAT Monday!

Love y'all,
Linda